Getting Down with MatchMaker: A Step by Step Guide
- by Thomas C. McKinney
Entering keywords.
Keyword Wants
To add your first keyword want, click "Add/Review Keywords," either in the explanation paragraph, or down further below. See the screenshot below for the two locations highlighted.

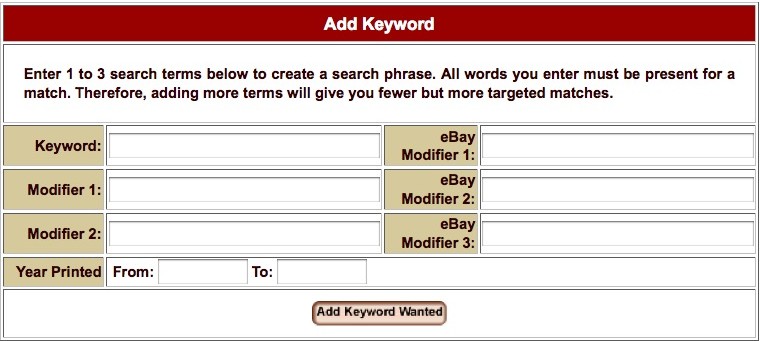
As you'll see below, I've taken one of my own wants from my actual collecting as an example of a first want. I'm fascinated by Native Americans; especially tribes of the Great Plains. So, the general subject I'm collecting is Native Americans, or even Native Americans of the Great Plains, but rather than just making a want for "Native Americans," and "Great Plains." I'm searching more specifically. My first example want is made up of: "indian," and "dakota" along with a date range. My real life examples that follow search individual tribes, like Sioux, Commanche, Pawnee, and even more specifically, different sects of single tribes! This is like looking for the difference between Oglala Sioux (Crazy Horse's group) and Hunkpapa (Sitting Bull's group). Once the information for a want is inputted, clicking "Add Keyword Wanted" completes the adding process and refreshes the window to show your new want. Rinse and repeat!

Author/Title Wants
This is a similar process to adding Keyword wants. The main difference is that this type of MatchMaker search is intended for people who already know the name of an Author or a specific item that they want, and the fields differ. Back on the main MatchMaker page, directly under where it says, "Right now you have the following matches," it shows Title Matches, and to the right of that, Review Wants. Click that link. See screenshot below.
